


Whether you’ve recently bought a house or are in the process of renovating, it’s likely that you’ll have scrap materials lying around somewhere – wood, cardboard, tiles, flooring samples… all of those things can make for great DIY supplies when you’re feeling a little creative. This was the case for me recently. I had a few flooring samples I didn’t know what to utilise for, but at the same time I just knew I didn’t want to get rid of them.
So I decided to try my hand at this DIY I’ve seen all over Pinterest, Youtube and Instagram, using a lovely piece of flooring sample I acquired a while ago.
You will need:
1 wooden flooring sample, or piece of wood
2 handles – I chose gold
Paint or emulsion
Paint brush
Screws

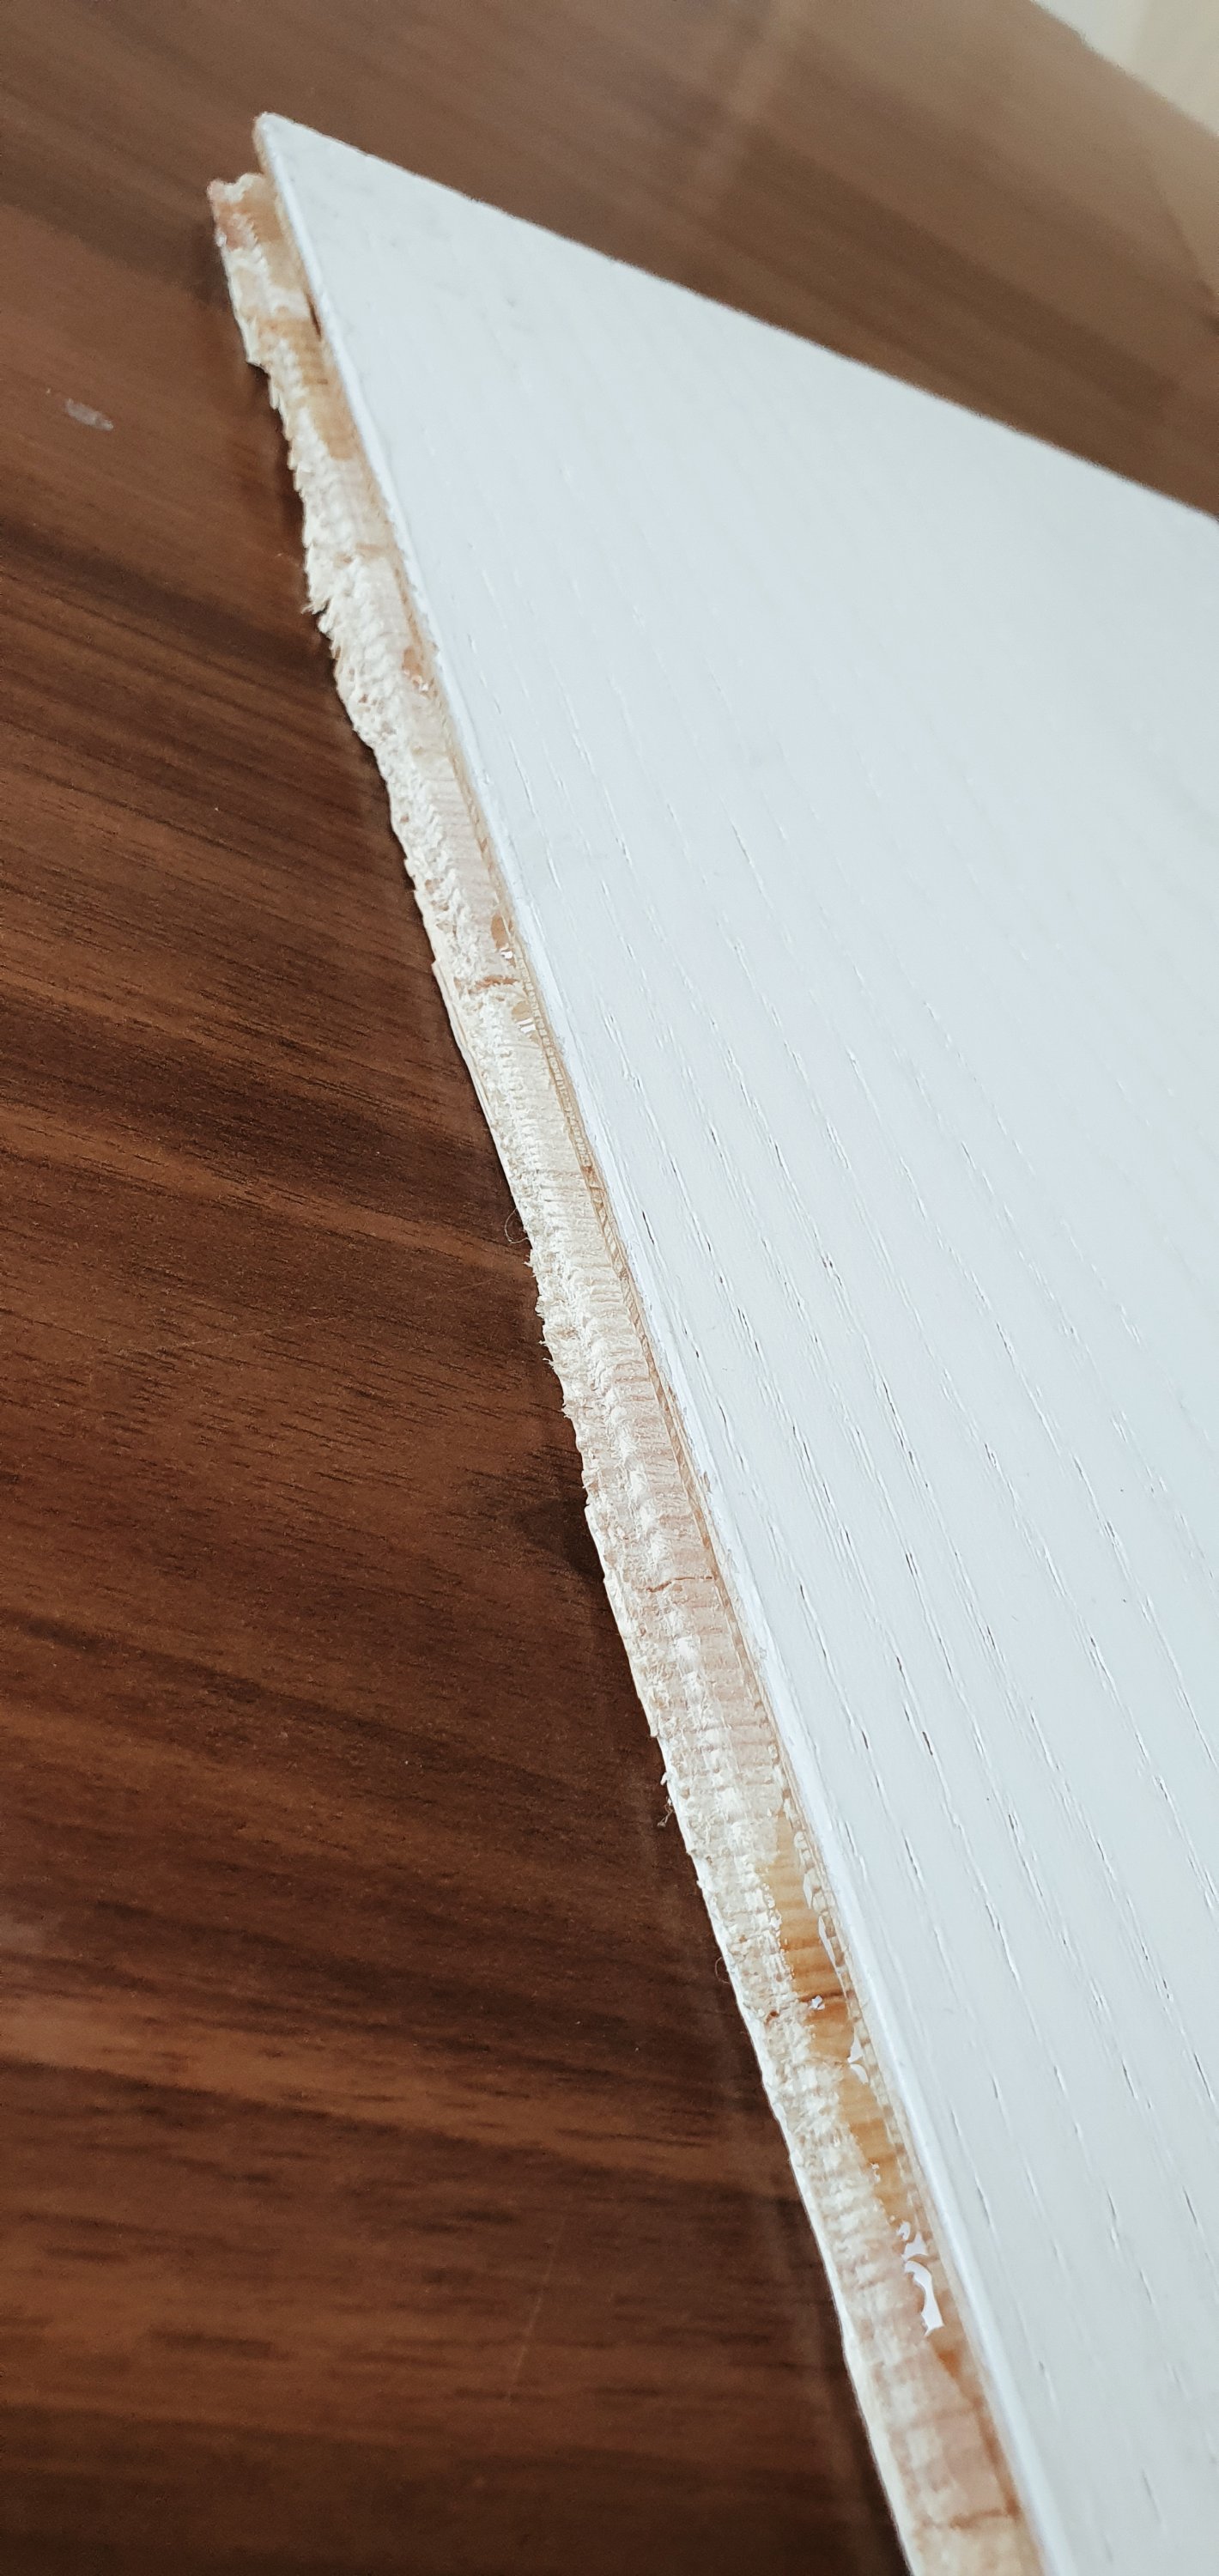
These samples are usually cut very badly, so the first step was to cut out any excess wood on the sides. Even though the side didn’t necessarily end up being smooth, I thought it would add a lovely touch of rustic or shabby chic to the tray, if painted white.
- Paint the sides to make them match the look of the wooden flooring sample.
2. Once the paint is dry, screw on the handles, opposite each other.

And here it is! A beautiful, shabby chic but classy tray for my entry way.


What are your thoughts on this post?